GOAD - Installation
Windows Installation (WSL)
GOAD - Installation
Created by: Dcyberguy
Created time: October 31, 2025 7:33 PM
Last edited by: Dcyberguy
Last updated time: October 31, 2025 9:33 PM
Status: Done
Installation
Choice of Operation System
I will be using the Windows Operating System and also Debian Linux (WSL) for this particular GOAD Install. The GOAD Repo would be on the Windows OS, same as with VMWare and VMware utility.
The vagrant plugins would be installed from the WSL (Debian)
Requirements:
- VMWare workstation:
Click below to install VMWare workstaion, if you don't already have it installed (Account needed to download)
- Vagrant:
Install | Vagrant | HashiCorp Developer
- Vagrant VMware utility:
Install | Vagrant | HashiCorp Developer
- Clone the GOAD (Game of Active Directory GitHub Repo)
- Install the below vagrant plugins:
On the WSL (Debian)
Python3 Virtual env Install
I will be using a python virtual environment venv on the Debian WSL to deploy GOAD
cd /mnt/c/Users/dcyberguy/
sudo apt install python3.16-venv
python3 -m venv venv
source venv/bin/activate
cd /mnt/c/Users/dcyberguy/GOAD
Check for dependencies
Install
- To install run the goad script and launch install or use the goad script arguments
./goad.sh -p vmware
# here choose the lab you want (GOAD/GOAD-Light/NHA/SCCM)
GOAD/vmware/local/192.168.56.X > set_lab <lab>

# here choose the  ip range you want to use ex: 192.168.56 (only the first three digits)
GOAD/vmware/local/192.168.56.X > set_ip_range <ip_range>

# Install
GOAD/vmware/local/192.168.56.X > install
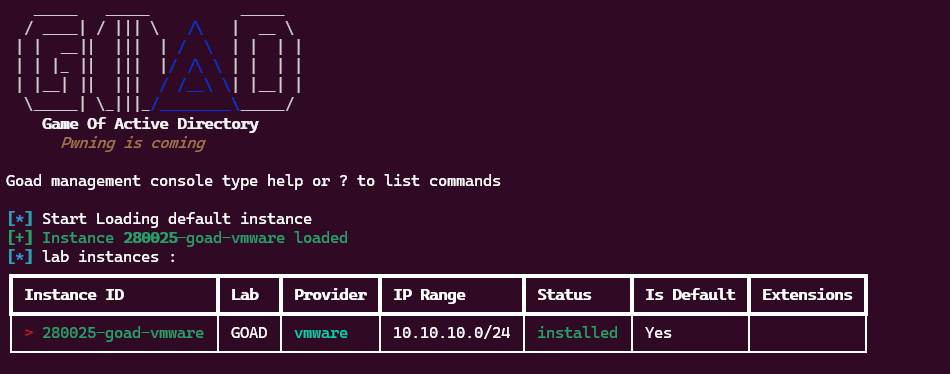
At the end of your install, you have something like this: